Login to HostGator to build a website with the easy to use Sitebuilder tool.
If you’re not familiar with building websites you can still have a professional site built in just a short time using Sitebuilder, HostGator’s built-in website building software. There are thousands of pre-built templates to choose from and you can edit each one to your liking. The software walks you through it step-by-step. Here are the steps to building a website through Sitebuilder after you do the HostGator login.
You’ll need:
- To have a hosting account at HostGator
- Have login details for the Sitebuilder. To request access go here: https://secure.hostgator.com/sitebuilder.php
Step 1: Start Sitebuilder
At HostGator, Log in to your cPanel. On the left side of the screen about half-way down the page, you’ll see a section for Web Site Builders. Click on Site Builder.
![]()
You’ll be taken to a page to log into Sitebuilder. You must have requested access to this and received your special login details in order to access this area.

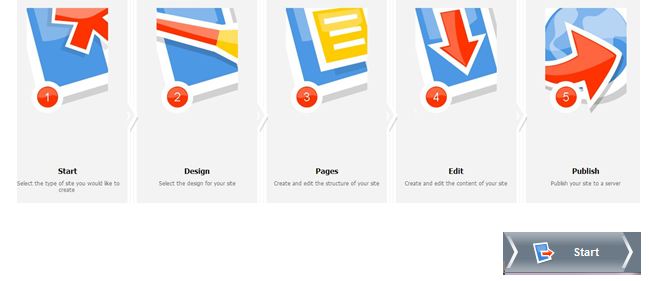
Once you log in, the Sitebuilder will start. You’ll see the images below explaining the steps to building your site. Click the Start button.
Step 2: Choose a Design
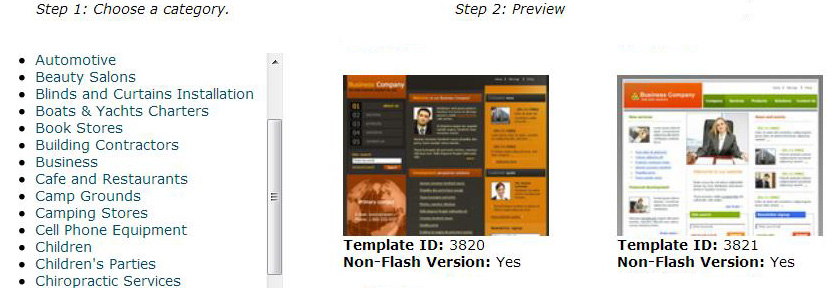
To browse and select a design, you can use the search box at the top of the page or browse by category using the drop down box. You can also go page-by-page using the bottom navigation.
Click a design to select it and see a slightly larger image of it.


Step 3: Customize Site
Once you’ve selected your template, it’s time to customize it. On the right side of the page, you’ll see the options shown below.
This is where you change the color scheme of your site. You can add banners and logos, select the style of your navigation, enter your site information such as the title, subtitle and footer message.

You can preview the design by clicking Preview at the bottom of the page. When you’re satisfied with the results, click Next.

Step 4: Add Pages
Now that you have the basic design, it’s time to add and edit your website pages. The first thing you need to do is select what type of site you’re building. This is done in the first column shown below. This choice will populate the page options to the right.
Here, we’ve chosen a service business which opens page options typically used in a service based business. Now select the pages you wish to use and click the right arrow.
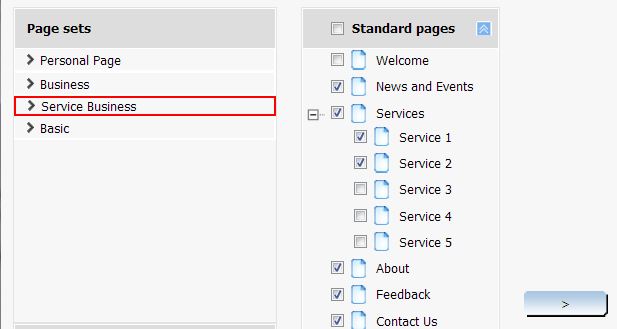
Here, you’ll see we’ve moved the pages to the site structure area. If you decide you don’t want to use a page, simply select it and click the left button to remove it from the list.
At this point, you should move the pages in the order you wish them to be shown on the site. Simply click the page and choose up, down, left or right.
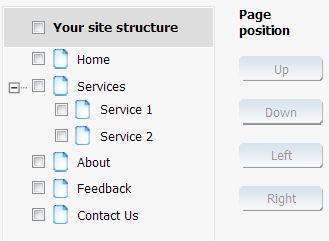
If you need to rename a page, select it and at the bottom, right corner of the page, click Rename & enter the new name of the page.
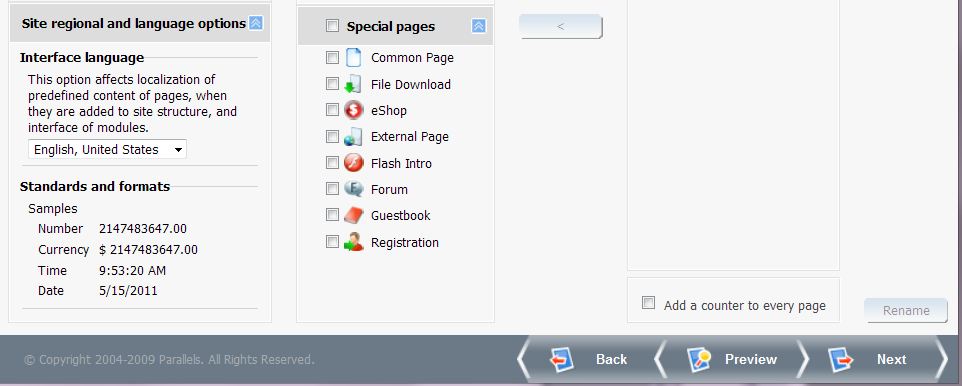
The bottom of the page offers more options such as setting the primary language and adding special pages. Once you have your site pages chosen and the structure arranged, click Next.
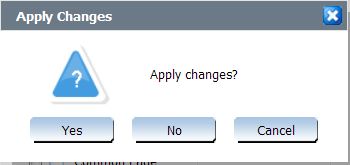
You’ll be asked to confirm that you want to apply the changes, select Yes.
Step 5: Edit Pages
Now it’s time to edit your pages. Below is an image of what you’ll see, only the template will be custom to whatever settings you’ve applied to this point.
The first step to editing is to select the page you want to edit. Here, we’ve chosen the home page as indicated by the circled area below.
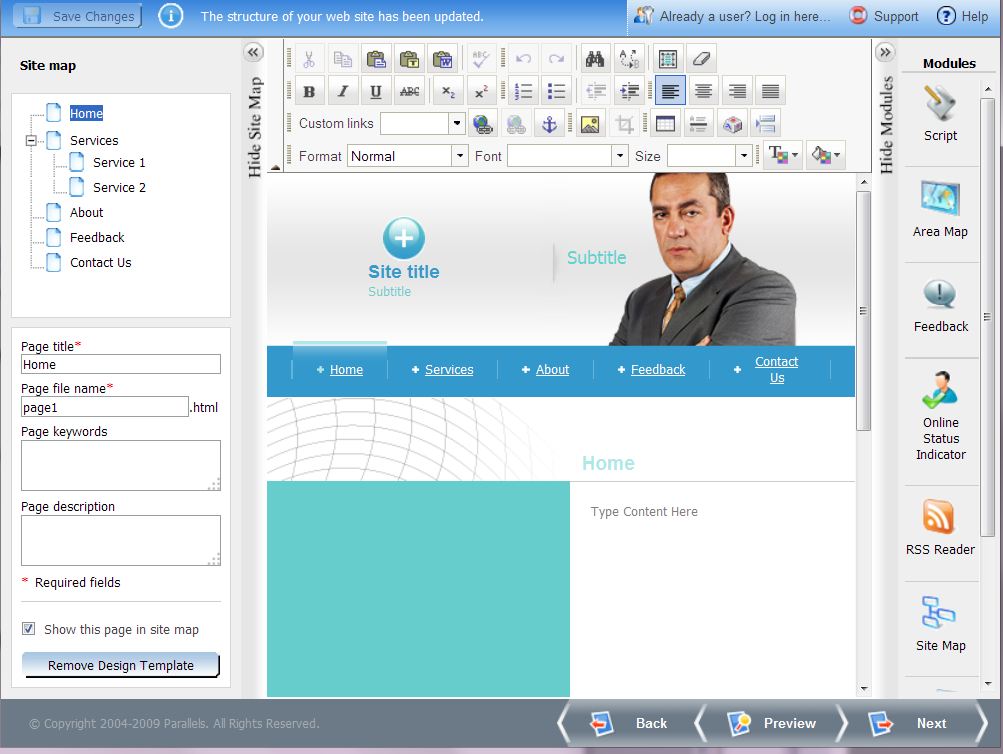
Sitebuilder uses a standard WYSIWYG editor. Using it is as easy as using your favorite word processing program.

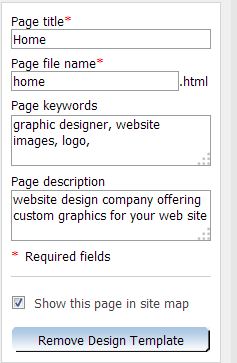
In the left corner of the page, you can change the title of your page, the file name, add your keywords and a page description.
Here is where you also choose whether or not you want the page to show in your site map.
You’ll add the content of the page in the middle section as shown here:
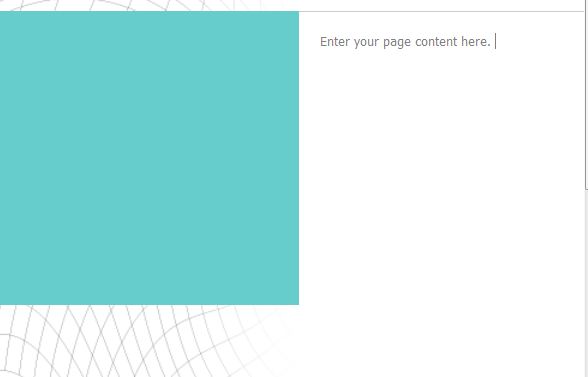
Click Save Changes at the top left side of the page to save your changes.
![]()
Repeat this step for each page of your website.
Step 6: Preview & Publish
As you’re working on your site, you can click preview any time to see what the pages will look like.
When you’re ready to publish, click Next.

That’s it! You now have a website online and ready to receive visitors.
If you haven’t started, by all means do the HostGator login Sitebuilder. You’ll be online with your very own website in no time.


